
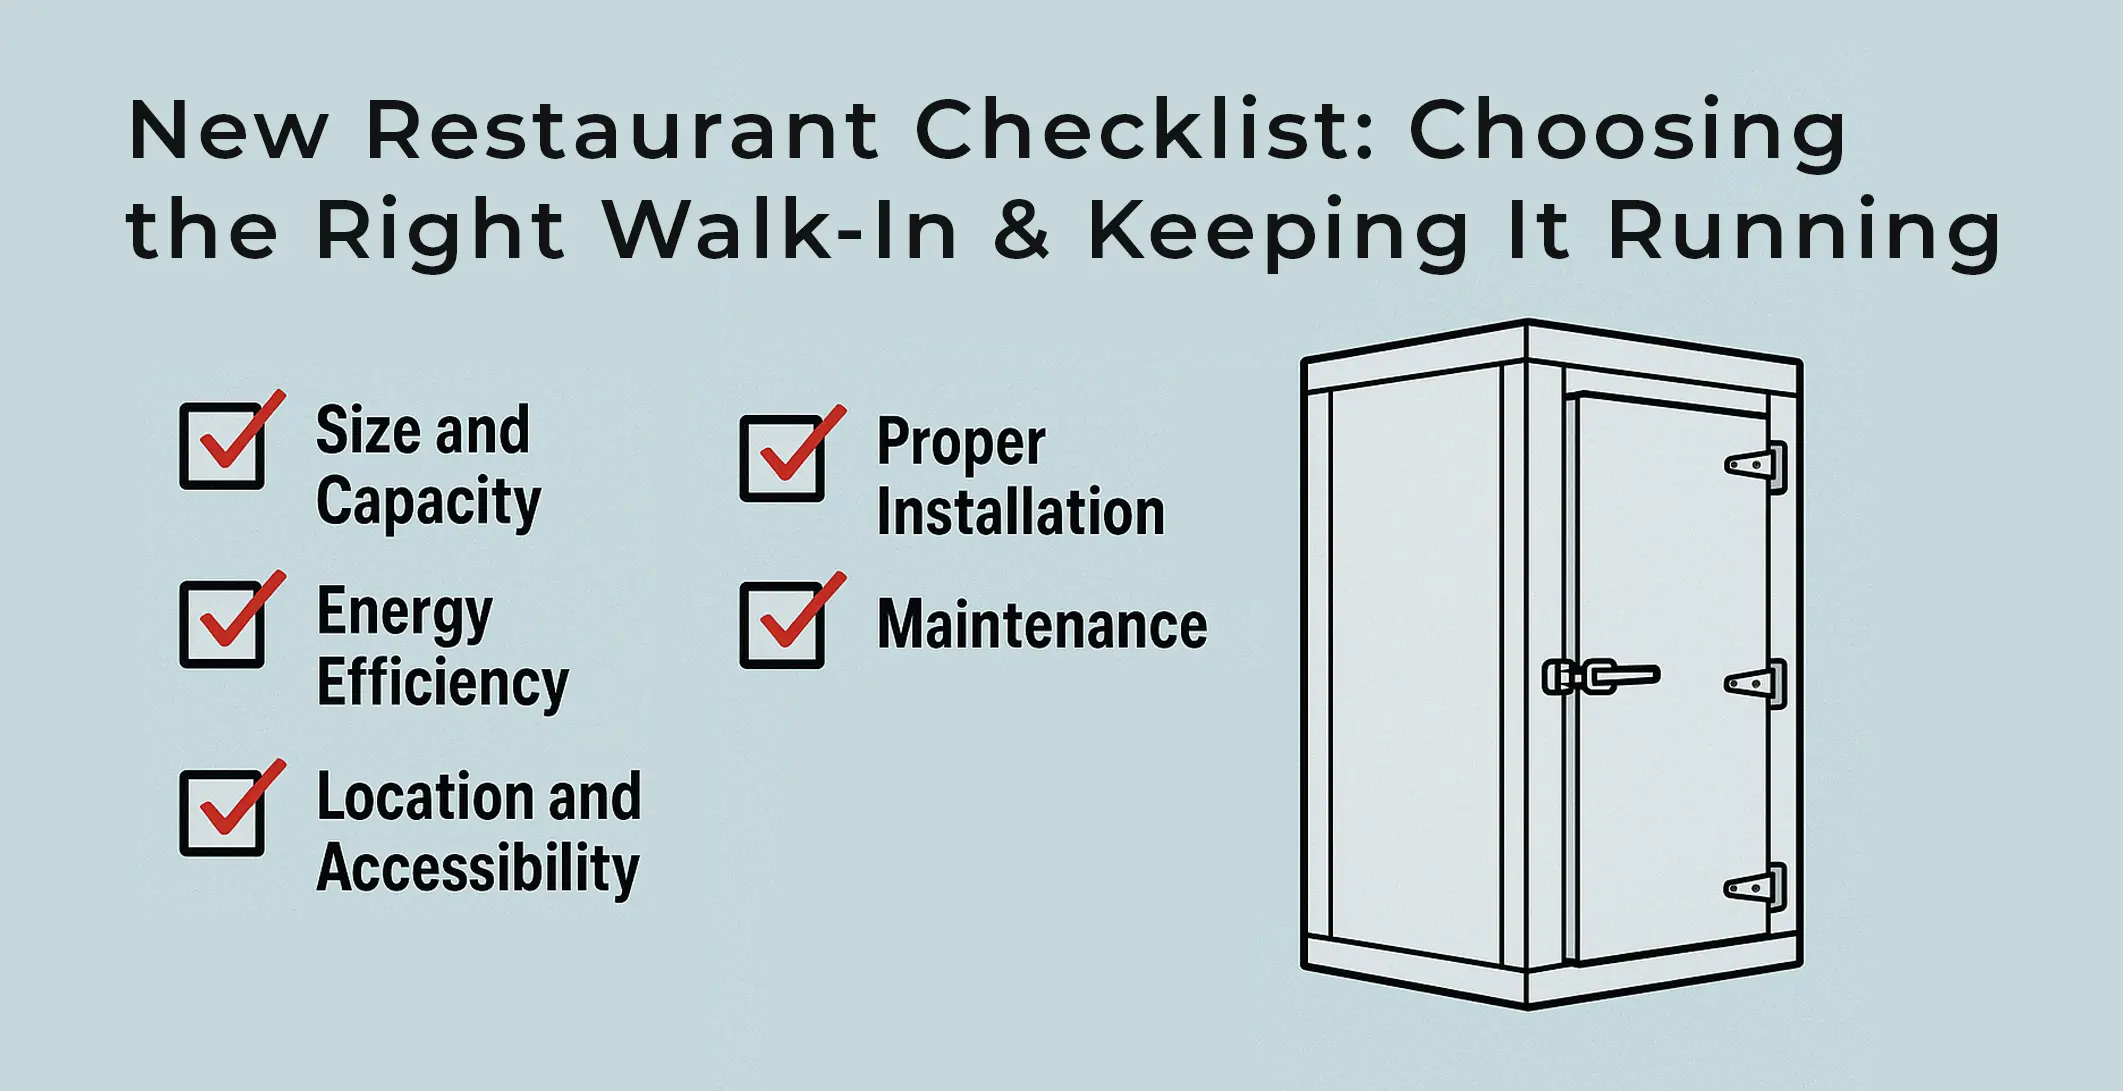
Step 1: Pick Cooler vs. Freezer (or Combo)
- Walk-In Cooler: 34–41°F for produce/dairy/beverage
- Walk-In Freezer: 0°F for long-term storage
- Combo Box: Saves footprint but requires careful load design
Step 2: Sizing & Layout
- Start with par levels and delivery frequency
- Allow 6–8″ clearance around coils; don’t block fans
- Place doors away from cooklines and dish areas to reduce heat/moisture
- Add shelving that doesn’t trap airflow under evaporators
Step 3: Decide Indoor vs. Outdoor
- Outdoor units free up kitchen space; confirm slab, canopy, and weather kits
- Indoor units avoid roof work but need ventilation and service clearance
Step 4: Energy & Health Code Must-Haves
- Door closers, gaskets, strip curtains
- ECM fans & LED lights
- Temp logging and alarm setpoints (41°F cooler / 0°F freezer targets)
- Routine ice machine cleaning if you serve iced drinks
Step 5: Service Plan = Fewer Emergencies
- Quarterly condenser cleans
- Bi-annual tune-ups (verify defrost, check charges, electrical, drains)
- Keep a “call list” posted by the office phone with 508-521-9477 for fast dispatch
Opening soon or taking over an existing space? Get a start-up inspection and maintenance plan to protect your inventory from day one. Call 508-521-9477.
FAQ
Can I reuse an old walk-in? Often yes, but inspect panels, gaskets, and the refrigeration package.
What brands do you service? Most major OEMs for coolers, freezers, and ice machines.
The Three Sizing Mistakes New Restaurants Make
The first mistake is buying for opening month instead of year two. A walk-in sized to today’s menu runs out of shelf space the first time the catering side takes off, and the fix — cramming it past its airflow limits — shortens the compressor’s life and warms the box. Size the box for the menu you intend to have in eighteen months, and if the budget will not stretch, spend on the box shell and save on shelving: panels are forever, wire racks are cheap to add.
The second mistake is putting the condensing unit somewhere it cannot breathe. A walk-in’s condenser needs cool, open air; tucked above a fry line or boxed into a utility closet, it fights kitchen heat all day and dies years early. If a remote condenser on the roof or an outside wall is an option in your build-out, take it — the install costs more once and the equipment pays it back every summer for a decade.
The third mistake is skipping the commissioning numbers. On day one, get your installer to record refrigerant charge, superheat, box pull-down time, and defrost settings in writing, and keep that sheet taped inside the office. Every service visit for the life of the equipment gets faster and cheaper when the technician can compare the unit against how it ran when it was new — and warranty disputes end quickly when the baseline is on paper.
Questions to Ask Any Walk-In Installer Before You Sign
Who does the refrigeration side? Many walk-in quotes cover panels and a set-in-place condensing unit, with the refrigeration piping, charge, and startup subcontracted or left vague. Get the name of the license holder who will braze the lines and commission the system — that person, not the panel crew, determines whether your compressor lives a full life. Ask whether the line set will be sized and run to the manufacturer’s spec, and get the answer in the contract.
What exactly does the warranty cover, and who answers the phone at 6 AM? A typical package has separate warranties for panels, compressor, and labor with three different companies behind them. Ask the installer to put in writing which failures they respond to directly, what their emergency response commitment is, and whether warranty labor is included or billed. An installer who hedges on that question is telling you what the after-sale relationship will look like.
Ask for the commissioning report before final payment. Refrigerant charge, superheat and subcooling readings, box pull-down time from ambient, thermostat and defrost settings — one page, filled out at startup. Installers who do quality work produce this without friction, and it becomes the baseline every future service visit is measured against. The install you should walk away from is the one where nobody can tell you what the numbers were on day one.
Your First-Year Service Plan, in One Paragraph
Month one: confirm the commissioning sheet is in hand and the crew knows the four baseline numbers. Month three: first condenser cleaning — construction dust from your own build-out is the number-one killer of new equipment, and it lands in the coil during the first ninety days. Month six: gasket, hinge, and drain check alongside the first full coil service. Month twelve: a complete tune-up compared line by line against the commissioning numbers. Do those four visits in year one and you will know exactly how your equipment ages; skip them and year three will introduce you to the repair side of the industry on its schedule instead of yours.